
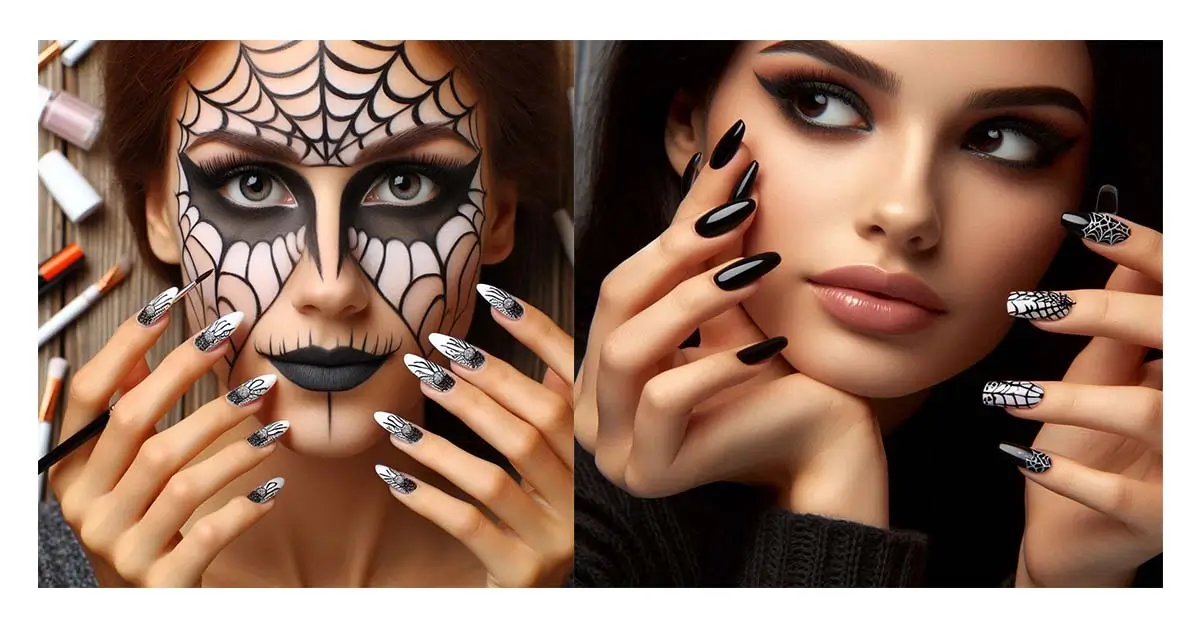
Learn how to create super spider web Halloween nails at home with easy step-by-step instructions, simple tools, and trendy design tips—no salon needed.
Forget store-bought press-ons and pricey salon appointments—this Halloween, your nails can be the scariest thing at the party. With just a few polishes, a toothpick, and a steady hand, you can spin super spider web nails right at your own kitchen table.
Whether you want a subtle web in the corner or a full set of creepy-crawly tips, this step-by-step guide shows you how to create salon-worthy spider web Halloween nails at home—no experience required.
DIY Halloween Nail Art: Step-by-Step Process
Follow this simple step-by-step process to create your own spider web nail art:
1. Apply the Base Coat
Before starting any nail art, apply a base coat. It protects your natural nails from staining, especially with dark polishes like black or purple, and creates a smooth surface for the polish to adhere to.
A base coat helps the nail art last longer and keeps the color from chipping prematurely. Let the base coat dry completely before moving on to the next step.
2. Apply the Base Color
Opt for dark shades like black or deep purple for a spooky, Halloween-appropriate background. These colors create the perfect canvas for the spider web design to stand out.
Apply two thin coats of your chosen base color. Let each coat dry completely before applying the next to ensure an even finish without bubbles or streaks. Thin layers also prevent the polish from becoming too thick, which could interfere with your detailed design.
3. Create the Spider Web Design
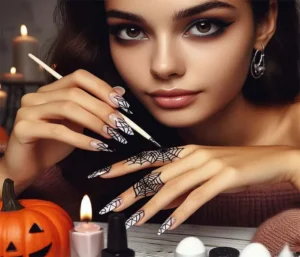
Once your base color is dry, you’re ready to create the spider web! It is the focal point of the design, and here’s how you can do it:
- Use a Thin Brush: Dip a thin, fine-tipped nail art brush into white nail polish. Precision is critical, so use a high-quality, fine brush.
- Draw the Web: Start from one corner of your nail, typically the top left or right, and draw a few straight lines radiating outward like spokes on a wheel. These lines will be the framework of your spider web.
- Connect the Lines: Use the same white polish to draw small arcs connecting the radiating lines to form the web. Space them evenly, moving inward from the outer edge of your nail. The web should look symmetrical and delicate. If you’re new to freehand drawing, use a nail art pen for better precision and control.
4. Add Extra Details
To elevate your spider web nail art and make it stand out, consider adding some extra decorative details:
- Rhinestones: Place a small silver or black rhinestone in the center of the web or where several lines intersect. It creates a 3D effect, making it look as though a spider is sitting on the web. Rhinestones are an easy way to add elegance and dimension to your design.
- Glitter: Lightly dust some fine glitter over the web while the polish is still wet. It will give your nails a sparkling effect that catches the light and adds glamour to your spooky design. Choose holographic glitter for a modern twist or silver glitter for a more classic, shiny look.
5. Finish with a top coat.
Once your design is complete, finish it off with a clear top coat to seal and protect the artwork. A top coat is essential to prevent chipping and keep your spider web intact for days.
Apply the top coat carefully, using a light hand to avoid smudging the design, especially the intricate web lines. To keep your nails looking fresh and glossy, reapply a thin layer of top coat every two or three days. It preserves the shine and helps your Halloween-themed nails last longer.
Halloween Nail Care Tips for Longevity
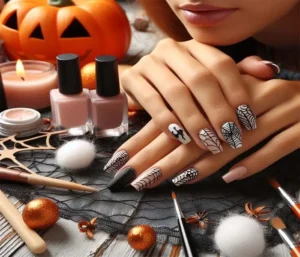
When it comes to Halloween nail art, keeping your designs looking their best through all the festivities is just as important as creating them.
Even the most detailed nail art can lose its charm without proper care. Here’s how to make sure your spooky nails stay flawless throughout the Halloween season:
1. Avoid Excessive Water Exposure
Water is one of the biggest enemies of long-lasting nail art. Prolonged water exposure can weaken the bond between your nail polish and your nails, making the polish more likely to chip or peel. To protect your manicure:
- Wear gloves. Wear protective rubber gloves when performing household chores like washing dishes, cleaning, or any water-related task. This reduces direct contact with water and helps preserve your nail art.
- Limit Soaking: Avoid long soaks in the bath or pool, as too much water can soften your nails and lead to premature chipping. If your nails get wet, gently pat them dry and reapply a layer of top coat if needed.
2. Moisturize Your Cuticles Regularly
Healthy cuticles play a vital role in your nails’ overall look. Dry, cracked cuticles can make even the most intricate designs look unpolished and neglected. To prevent this:
- Use Cuticle Oil: Apply cuticle oil daily to keep your cuticles soft and hydrated. Cuticle oils contain essential vitamins and nutrients that nourish and strengthen the skin around your nails, which is crucial for preventing painful hangnails.
- Cuticle Cream or Balm: If your cuticles are dehydrated, a cuticle cream or balm can provide more intense hydration. Make it a part of your nightly routine for smooth, healthy cuticles that enhance the appearance of your nail art.
3. Touch Up When Needed
Even with the best care, minor chips can happen, especially around the tips of your nails, where daily wear and tear is expected. Instead of letting minor imperfections ruin your Halloween nails:
- Keep Your Polish Handy: Always keep the original nail polish you used for your design on hand for quick touch-ups. Dab a small amount of polish onto chipped areas to blend the color seamlessly.
- Top Coat After Touch-Ups: After touching up, apply a thin layer of clear top coat to seal the fix and restore the glossy finish. This improves the appearance and adds an extra layer of protection, helping prevent further chipping.
4. Reapply Top Coat Every Few Days
A top coat keeps your Halloween nail art fresh and vibrant. Over time, exposure to environmental factors like hand washing, typing, or even using your phone can dull your nails’ shine and weaken the design. To prevent this:
- Regular Top Coat Application: Apply a fresh layer of top coat every two to three days to keep your design intact and your nails glossy. This additional layer helps shield your artwork from chipping, scratching, and other daily hazards.
5. Be Gentle with Your Nails
Treat your nails like delicate art pieces because they are! Please avoid using your nails to open packages, scrape off stickers, or do any other tasks that could put pressure on them. The more gently you handle your nails, the longer your Halloween design will last.
Essential Tools and Supplies for Halloween Nail Art
You’ll need essential tools to create and maintain stunning Halloween nail art at home. These items help you achieve professional results and ensure your designs are precise and polished:
1. Nail Art Brushes
Precision is critical when creating intricate Halloween designs like spider webs, ghost faces, or pumpkins. Nail art brushes come in various sizes and are specially designed for detailed work. A fine-tip brush is perfect for drawing thin lines, while a broader brush is better for filling larger areas.
2. Dotting Tools
Dotting tools are a must for creating small dots. They often add eyes to ghosts or other small circular details. These tools come in different sizes, allowing you to make everything from tiny details to larger dots easily.
3. Stickers and Decals
Halloween-themed nail stickers and decals offer a simple way to create professional-looking designs for beginners or those short on time. From pumpkins and skulls to bats and witches, these stickers add a festive touch without requiring advanced skills. Apply them over your base color and seal with a top coat.
4. Striping Tape
Striping tape is excellent for creating sharp, straight lines or geometric patterns in nail art. Use it to section off areas of your nails for different colors or add a modern, sleek look to your Halloween designs. Once you’ve painted over the tape, carefully peel it off to reveal clean, crisp lines.
5. Quality Base and Top Coat
No nail art is complete without a quality base and top coat.
- Base Coat: The base coat protects your natural nails from staining, especially when using dark colors like black or purple. It also provides a smooth surface for the polish to adhere to, helping prevent chipping and ensuring the longevity of your design.
- Top Coat: A good top coat seals your design, adds a glossy finish, and protects the polish from chipping, peeling, or fading. It is essential for intricate designs, as it helps maintain the detail and shine.
With the right tools and proper nail care, your Halloween nail art will stay vibrant and spooky throughout the season. Whether you’re creating ghoulish ghosts, bloody drips, or sparkling spider webs, your nails will be ready to celebrate in style!
Summary
Create stunning spider web Halloween nails at home using a fine liner brush, a base polish, and a contrasting web color.
What You Need
- Base coat and top coat
- Base color polish (black, orange, or purple)
- Detail color polish or acrylic paint (white or silver)
- Fine nail art liner brush or a toothpick
Step-by-Step Instructions
- Prep and Base: Apply a clear base coat to protect your nail.
- Apply two coats of your preferred base color (such as orange or black) and let them fully dry.
- Paint Radial Lines: Dip your fine liner brush into white or silver polish. Draw three intersecting straight lines from one corner or the side edge of your nail, fanning out across the nail bed.
- Connect the Web: Use small, curved “U” shapes or swoops to connect the straight lines, starting from the inside near the corner and working your way out.
- Seal the Design: Let the web design dry for a few minutes, then apply a shiny or matte top coat to protect your new Halloween manicure from chipping.
Conclusion
Halloween nail art offers endless creative possibilities, from simple designs like spider webs to more detailed themes like pumpkin patches and ghosts.
With the correct equipment, methods, and nail care routines, you may have a gorgeous manicure all through Halloween. Whether you’re going for eerie or enchanting, these nail art ideas will ensure your nails are the talk of any Halloween gathering.
FAQs
Q. How to make spider webs on your nails?
You can create spider webs on your nails with a few simple techniques:
What you need:
- Base coat and black, white, or sheer polish
- Thin nail art brush, toothpick, or dotting tool
- Matte or glossy top coat
Method 1: Hand-painted web
- Paint nails with a base color and let dry.
- Use a thin brush to draw 3–4 lines radiating from one corner (like spokes).
- Connect the spokes with small curved lines, working outward.
- Add a tiny spider with a dot for the body and lines for legs.
- Seal with top coat.
Method 2: Stamp or stencil
- Use a spider web nail stamping plate and stamper for a quick, precise design.
- Or cut a small web shape from tape, press it onto the nail, paint over it, and peel it off.
Method 3: Decals
- Buy pre-made spider web nail decals or stickers and press them onto tacky polish, then top coat.
Tips: Use a toothpick for tiny details, keep lines thin, and practice on a fake nail first.
Q. How to make fake cobwebs for Halloween?
Fake cobwebs are one of the easiest Halloween decorations:
Materials:
- Bag of stretchy fake spider webbing (available at dollar stores)
- Command hooks, tape, or pushpins
- Plastic spiders
Steps:
- Anchor a small hook or tape to corners, doorframes, or ceiling edges.
- Take a small amount of webbing and gently stretch it between two points.
- Keep pulling thin strands across the area—less is more for a realistic look.
- Layer more webbing for density, but avoid clumps.
- Add plastic spiders hanging from the strands.
DIY alternative: Use cheesecloth, white tulle, or thin cotton batting. For a spookier look, dust with flour or cornstarch.
Q. How to do Halloween nails at home?
You can do Halloween nails at home with basic supplies:
Steps:
- Prep – Clean nails, push back cuticles, and apply a base coat.
- Base color – Paint 2 coats of black, orange, purple, deep red, or nude. Let dry.
- Add designs—Try:
- Candy corn stripes (white, orange, yellow)
- Blood drips (red over nude)
- Ghost faces (white base, black dots)
- Pumpkins (orange with black lines)
- Spider webs (see above)
- Use tools—toothpicks, bobby pins, or thin brushes for details.
- Seal—Finish with a clear top coat for shine or a matte top coat for a spooky finish.
Shortcut: Use Halloween-themed nail stickers, wraps, or press-on nails if you’re short on time.
Q. How to make a spider web at home?
You can make a spider web in several ways, depending on your purpose:
For decoration (fake web):
- Use fake stretchy webbing as described above.
- Or make a web from yarn or string: tie a frame (like a triangle or square), then wrap string in concentric circles and radiating spokes. Hot glue to secure.
For a realistic web look:
- Use a glue gun: draw a web pattern on parchment paper, let it cool, peel it off, and hang it.
- Use white puffy paint on wax paper—same idea.
For a science/nature project:
- You can’t easily make a real spider web, but you can simulate one with string, wire, or yarn on a frame.
For nails: See the first question above.
Q. What are the trendiest Halloween nail colors?
Popular Halloween nail colors include:
- Classic black—timeless and versatile.
- Pumpkin orange – Bright or burnt orange for fall vibes.
- Blood red—Deep crimson or burgundy for vampire looks.
- Purple and violet—witchy, mystical tones.
- Slime green—Neon or toxic green for Frankenstein vibes.
- Ghostly white – For ghosts, skeletons, and mummies.
- Matte black or matte burgundy—A modern, edgy finish.
- Chrome and metallic—silver, gunmetal, or gold for glam Halloween.
- Nude with blood drips—a trendy, minimalistic spooky look.
This year, mixed finishes (matte + glossy), glow-in-the-dark polish, and chrome powders are especially popular.
Q. What are some 5-minute Halloween crafts?
Quick Halloween crafts you can do in about 5 minutes:
- Toilet paper roll mummies—Wrap a roll in white gauze or toilet paper, glue on googly eyes.
- Paper plate ghosts—Paint a paper plate white, add eyes, and hang from a string.
- Candy corn craft – Cut a triangle from paper, paint white, orange, and yellow stripes.
- Spider lollipops—Wrap a lollipop in black pipe cleaners for legs and add googly eyes.
- Pumpkin tea lights—Paint a small jar orange, draw a jack-o’-lantern face, and place a tea light inside.
- Bat garland – Cut bat shapes from black paper, and string them on yarn.
- Ghost balloons—Draw faces on white balloons, drape with white fabric or tissue.
- Mason jar lanterns – Paint jars with Halloween shapes, add a battery tea light.
These are great for kids, parties, or last-minute decorating.
Read more about self-care.
You might like to read: